I bought a couple of these enclosures on e-bay, not being completely sure what they would be like, but I’m pretty happy with them. They feel solid, and the tolerances are good (no big gaps, and everything fits nicely). The corners are a bit sharp, but nothing a file can’t sort out before finishing.
VINTAGE-STYLE WEDGE ENCLOSURE DIMENSIONS


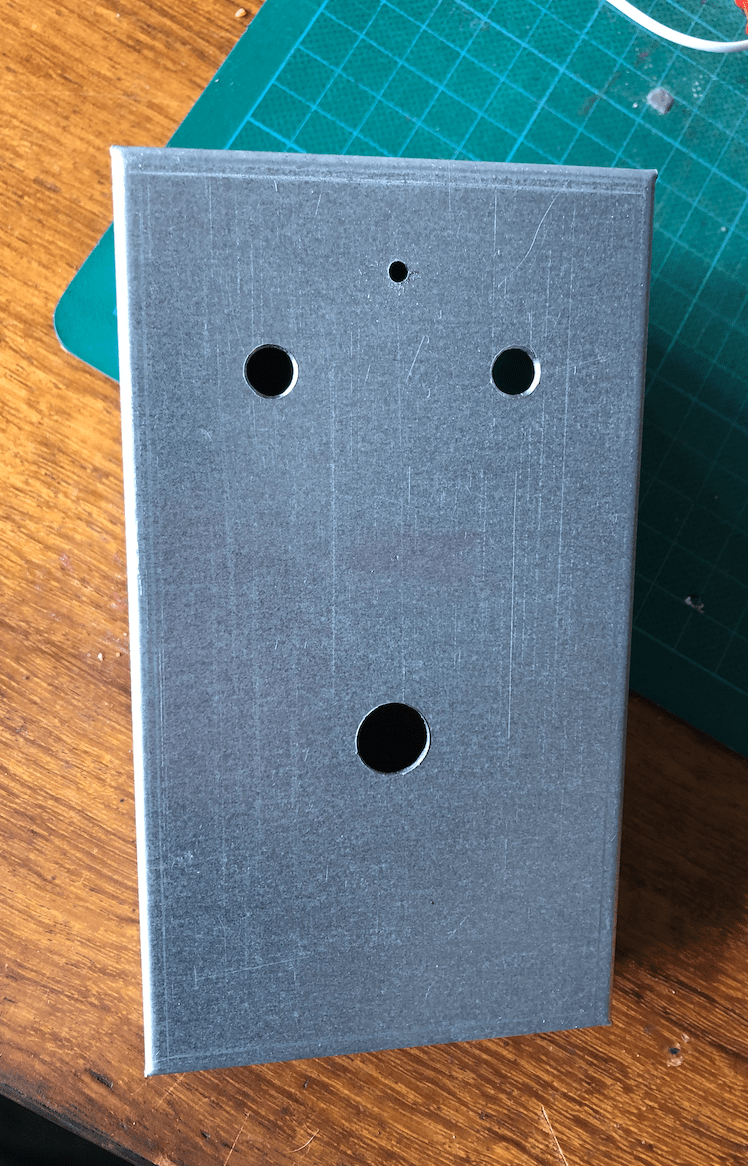
DRILLING THE ENCLOSURE
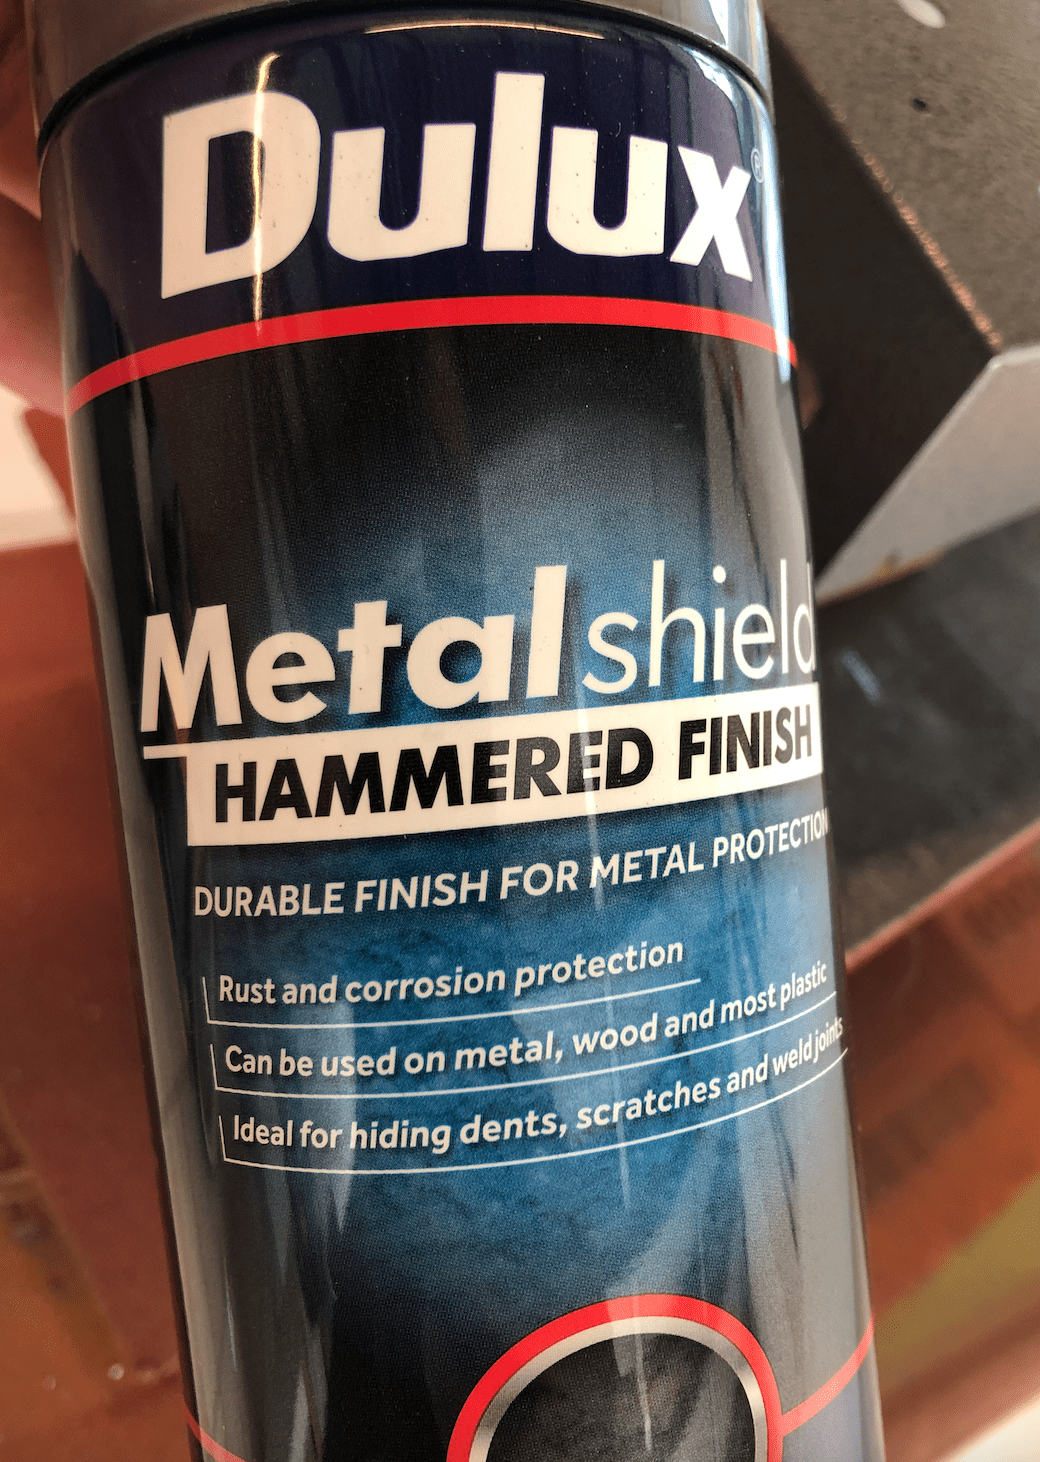
PAINT – HAMMERED FINISH
Two light coats at the start and one a bit heavier at the end. If you don’t apply a decent coat at the end, the hammered finish doesn’t appear.
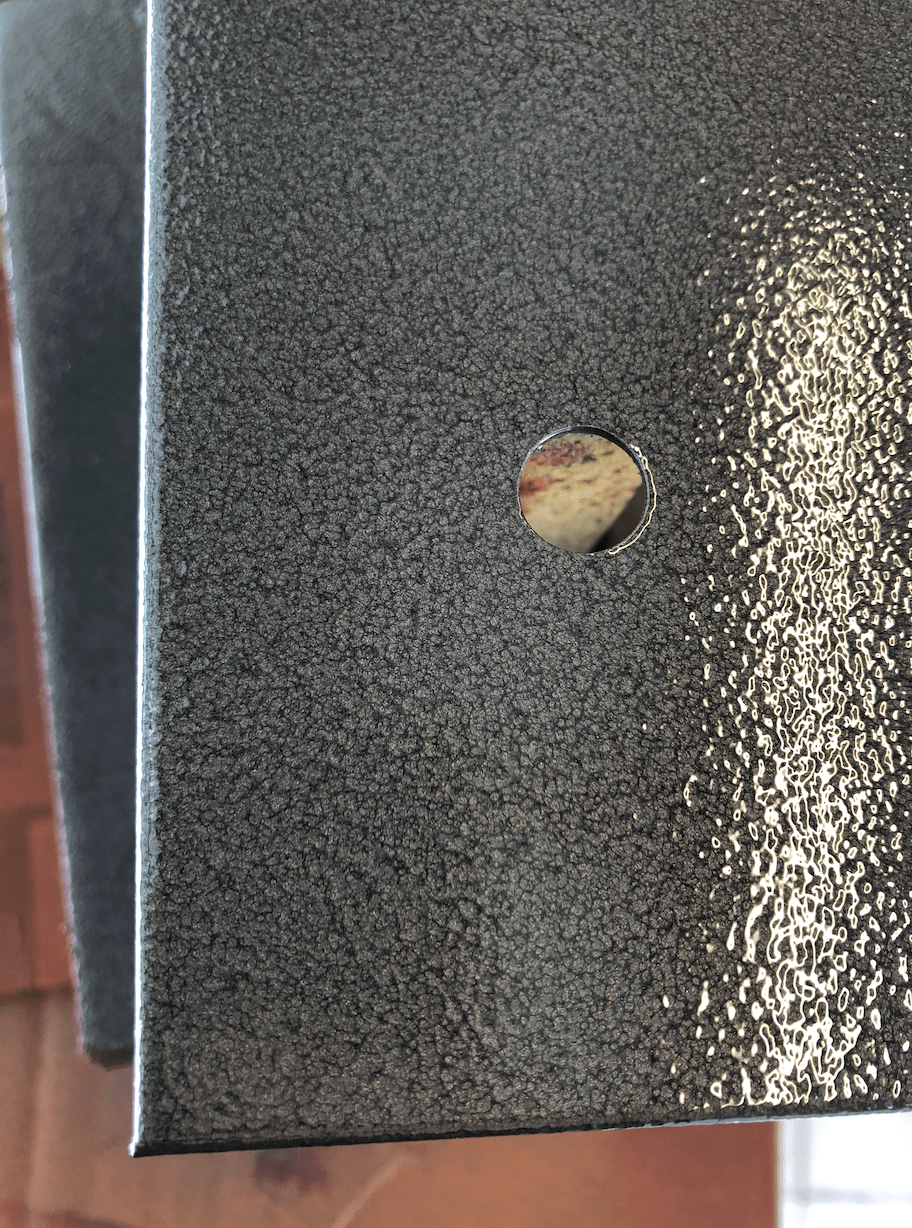
The actual colour is slightly darker than the cap, but that’s fine.
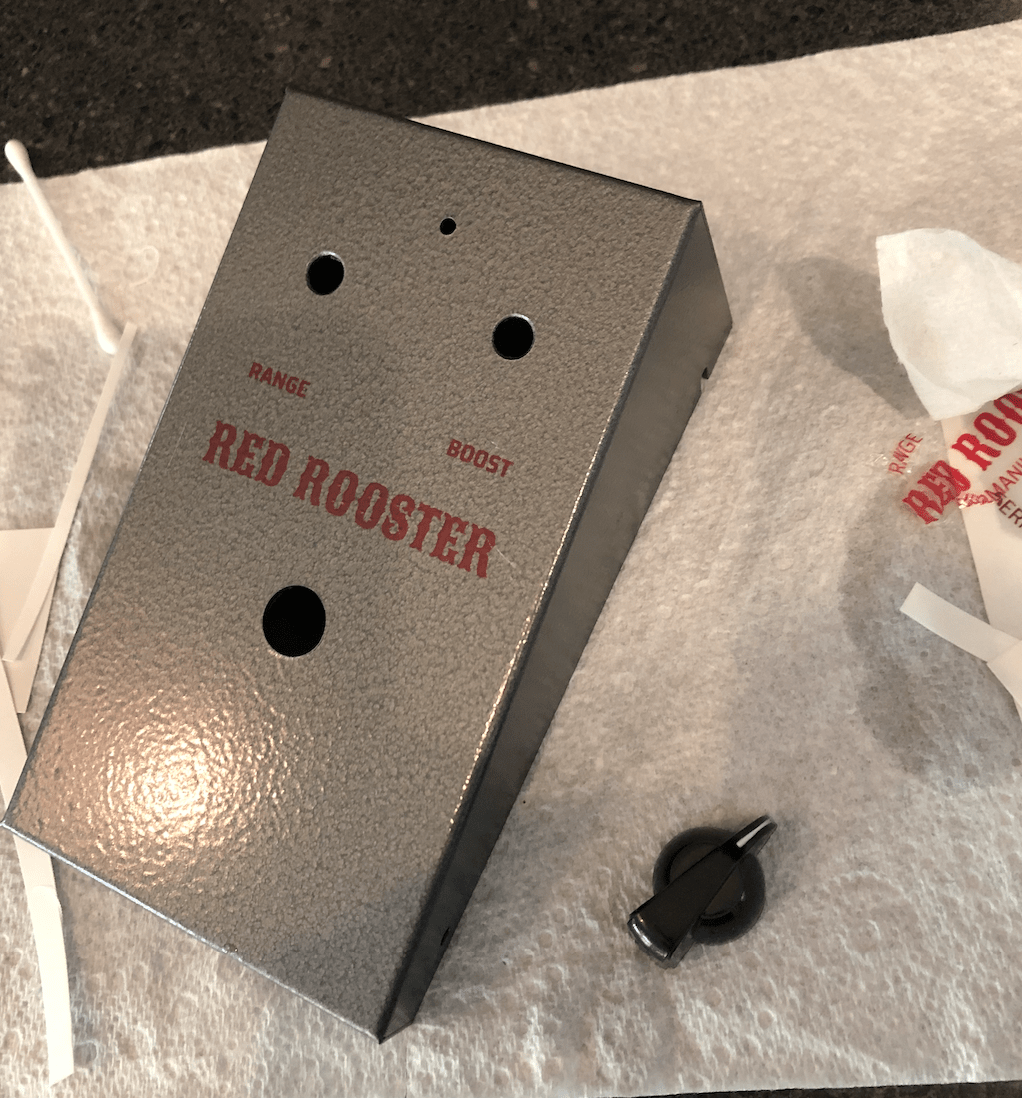
APPLYING GRAPHICS ON THE ENCLOSURE – WATERSLIDE DECAL
The decal application was more successful than my last attempt using a different product (that was on a Tone Bender enclosure). I used an ultra-thin decal this time. It’s not perfect, but it’s close enough for me.
FINAL CLEARCOAT COVER
First coat of clear coat, and it’s coming up well. The edges of the decal are still slightly visible, but it’s very hard to see. Another coat will probably sort that out.
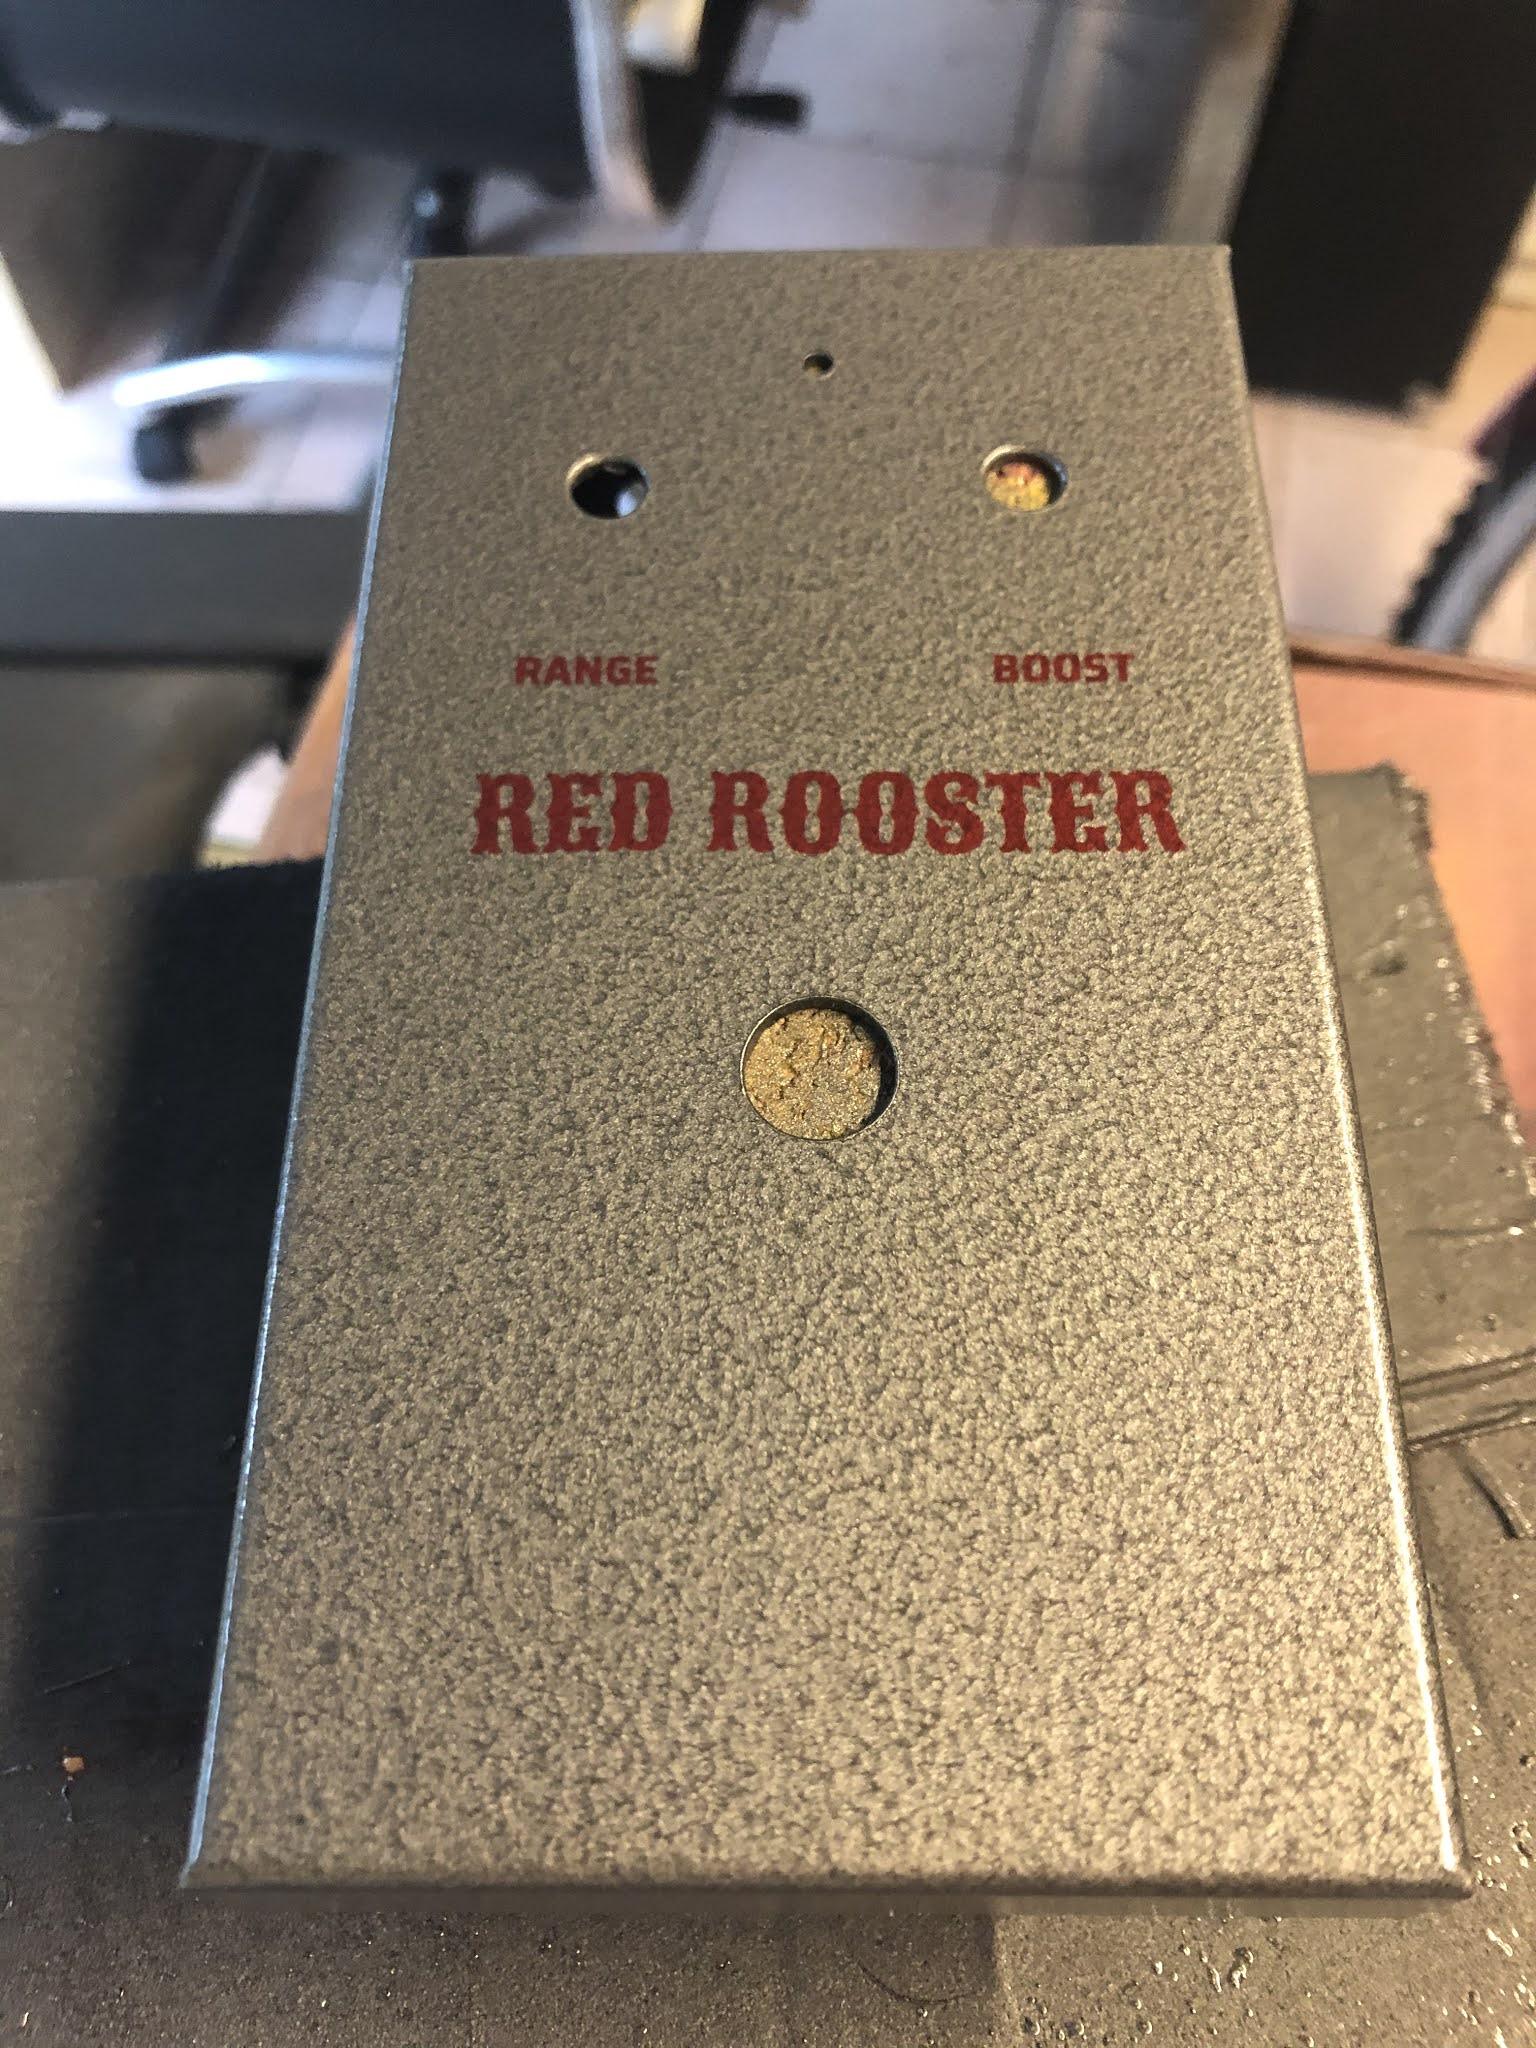
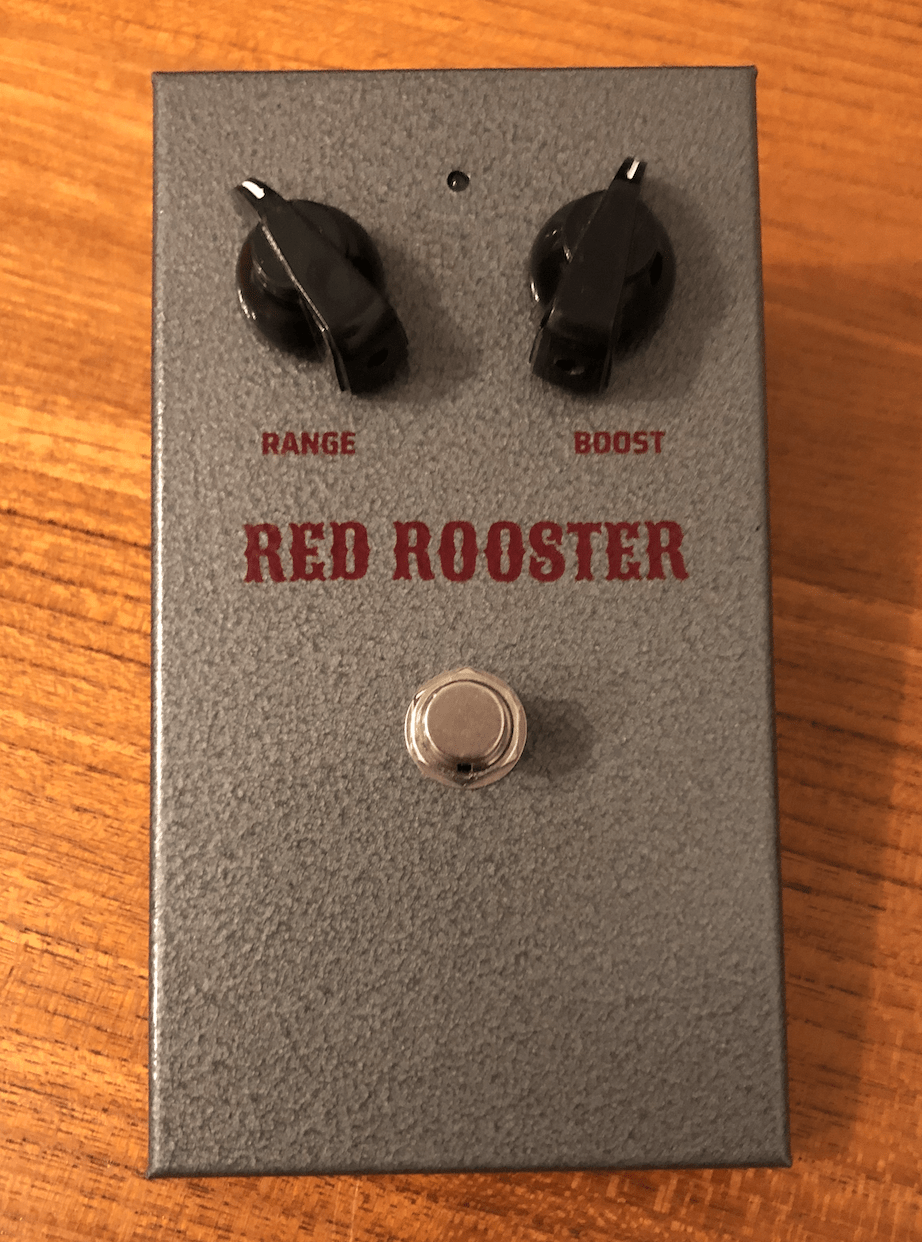
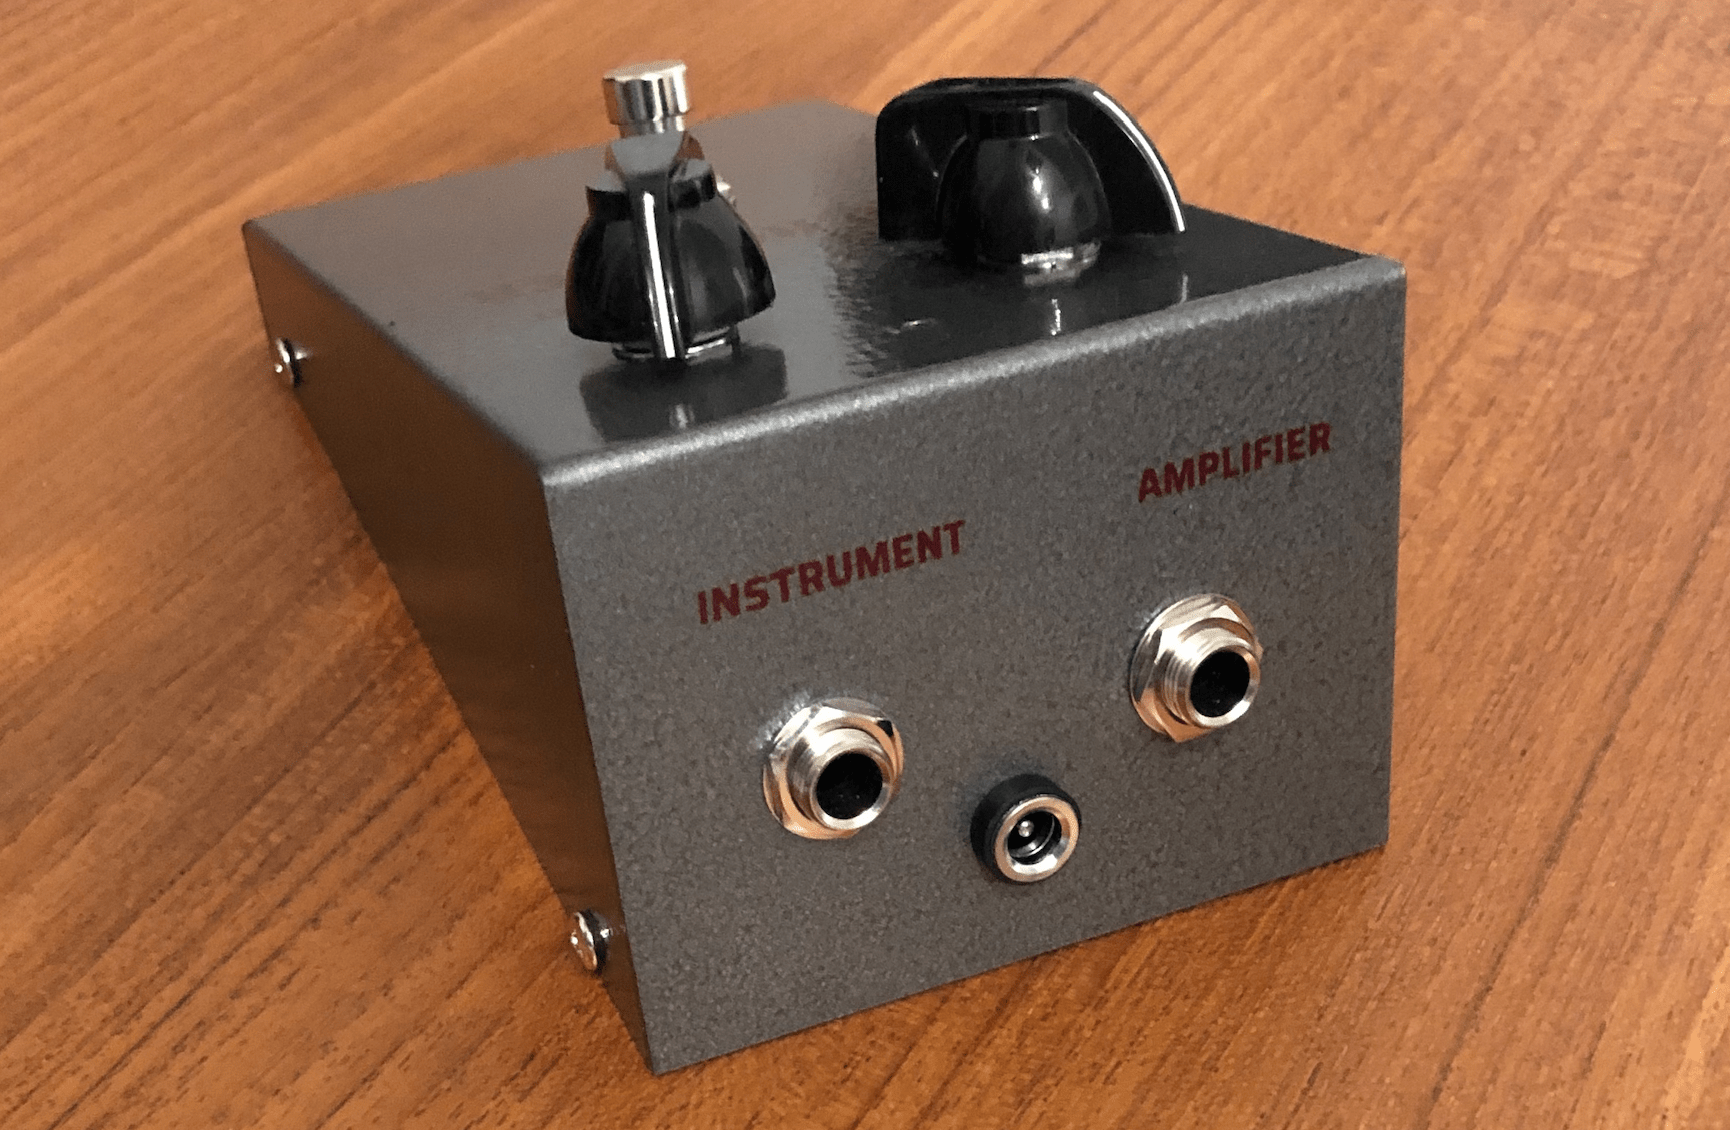
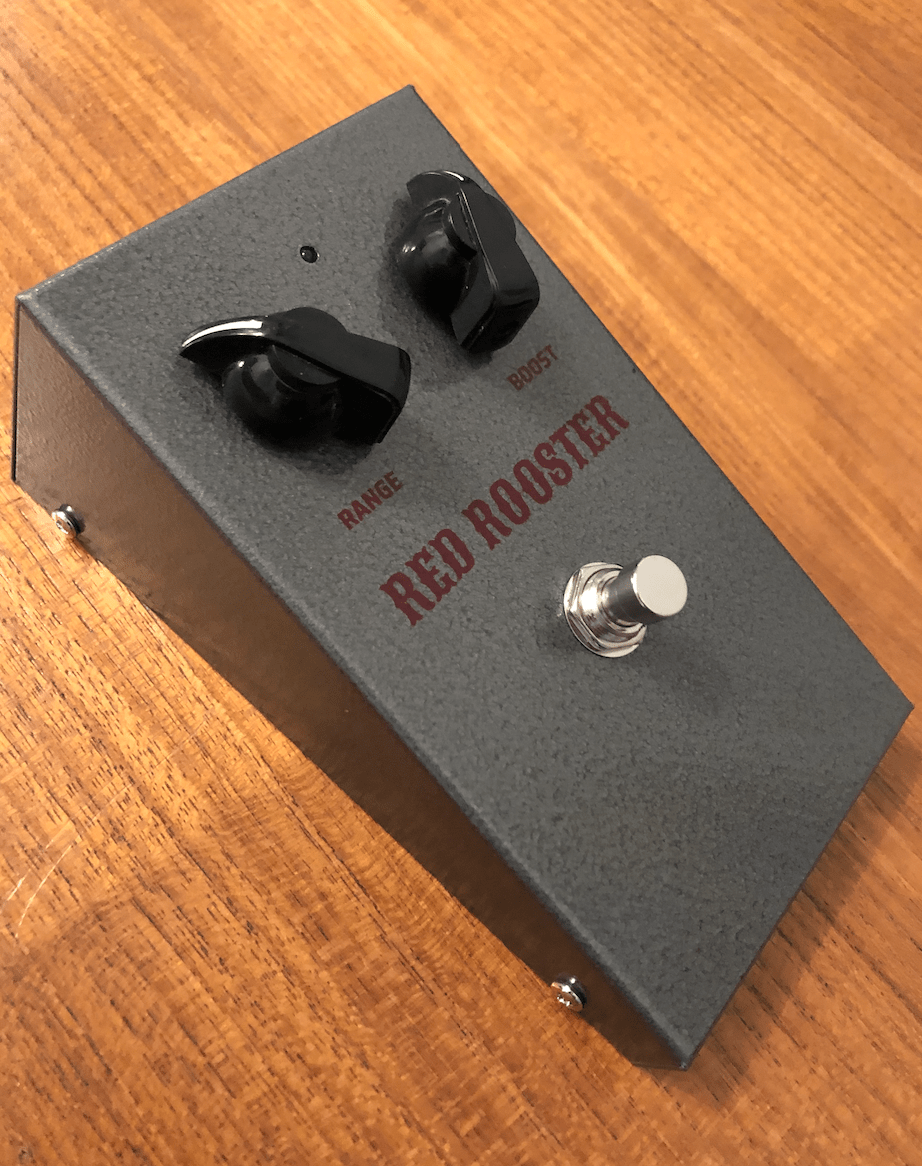
FINISHED ENCLOSURE WITH HARDWARE
As the name on the box suggests, it’s a D*A*M Red Rooster that I made using a point-to-point layout. I was considering not using the name on the box, but decided to run with it anyway.